
One piece Abutment Placement:
After adequate osseo-integration a clinician needs to uncover the implants, if necessary; and remove the cover screw. Irrigate, free from debris and dry the internal part of the implant. Place an appropriate abutment, using an insertion driver (1.25mmD Hex Tool) and a torque wrench applying 30 Ncm of torque.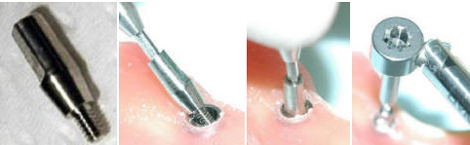
Note that abutments do not have to, but can be modified. If it is necessary to modify the abutments, a carbide or diamond bur may be used with copious irrigation.
Do not over-prepare abutments taking into consideration retention of restoration and strength of the abutment. It is not recommended to modify the abutment at the junction with an implant. It is not recommended to remove more than 1/5 of the abutment length and or width.
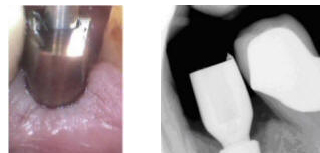
Two piece Abutment Placement:
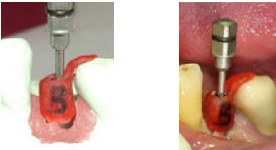
Two pieces abutment inserted in to the implant, in the patients mouth. Complete seat checked with x-ray.
Soft tissue model fabricated
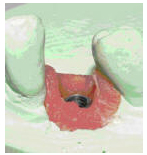
Two pieces abutment is prepared on the model. Margin follows gingival contours of healed tissue. Restoration will be fabricated on the prepared two pieces abutment.
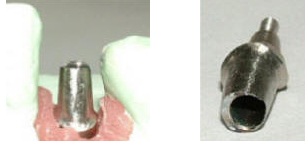
Later two piece abutment will be transferred into the implant in the patients mouth. This procedure assures precise fit of the restoration.
Hard acrylic jig used to transfer two piece abutment in to the implant in the patients mouth.
 |


